English
 русский
 Español
 italiano


Cutting a tile creates a functional edge, but the appearance of that edge can be very different from the factory-finished surface. Saw marks, tiny chips, sharp corners, and a dull exposed body can remain after cutting, especially on porcelain. Tile polishing tools provide a way to refine these areas and create an edge that better matches the visible surface of the tile.
The visual change depends on the condition of the cut, the desired edge profile, the abrasive grit, and the polishing method. Diamond pads and grinding discs are commonly used for porcelain and ceramic edge finishing, with different grit levels assigned to material removal, smoothing, and final polishing.
Freshly cut porcelain may have a relatively sharp edge with visible scoring marks or small chips. Trying to create a polished appearance with a fine pad immediately may not remove these imperfections efficiently.
Polishing can change more than surface shine. The geometry of the edge also affects how light reflects from the tile.
A freshly cut edge can feel sharp and visually unfinished. Light may scatter across small chips and irregularities, making the cut noticeably different from the factory surface.
A small bevel removes the fragile corner and creates a controlled transition between the tile face and exposed body. This approach can also make a cut edge less visually prominent after installation.
Progressive diamond polishing can refine the exposed material and increase its visual smoothness. This effect becomes particularly noticeable on dark or glossy porcelain, where scratches and dull areas can stand out against the factory finish.
Modern tile installations often use mitered edges around external corners, shower niches, countertops, and architectural features. A 45° cut exposes the tile body along a relatively narrow edge, so surface quality becomes highly visible at the finished corner.
Cutting alone may leave a rough line that interrupts the visual continuity of the corner. Grinding and polishing can refine the miter surface before the two pieces are joined. Current professional workflows commonly divide the process into cutting, grinding, and polishing stages rather than treating the cut as the finished edge.
Different grit levels produce noticeably different surfaces. Coarse abrasives remove material quickly but leave deeper scratch patterns. Finer abrasives remove those marks progressively and create a smoother appearance.
Raimondi offers diamond edge-finishing discs in 60, 120, and 200 grit, while its diamond pads are available in 60 and 200 grit for finishing tile and slab edges.
Other systems extend the sequence considerably. Some polishing pads progress through several stages toward a high-gloss finish, allowing installers to choose the stopping point according to the desired appearance rather than automatically polishing every edge to a mirror finish.
Small repairs and short exposed edges can be handled with diamond hand pads. Their compact format gives the user direct control around corners, narrow sections, and detailed areas. Distar offers 60, 200, and 400 grit hand pads specifically for smoothing and polishing porcelain and ceramic edges.
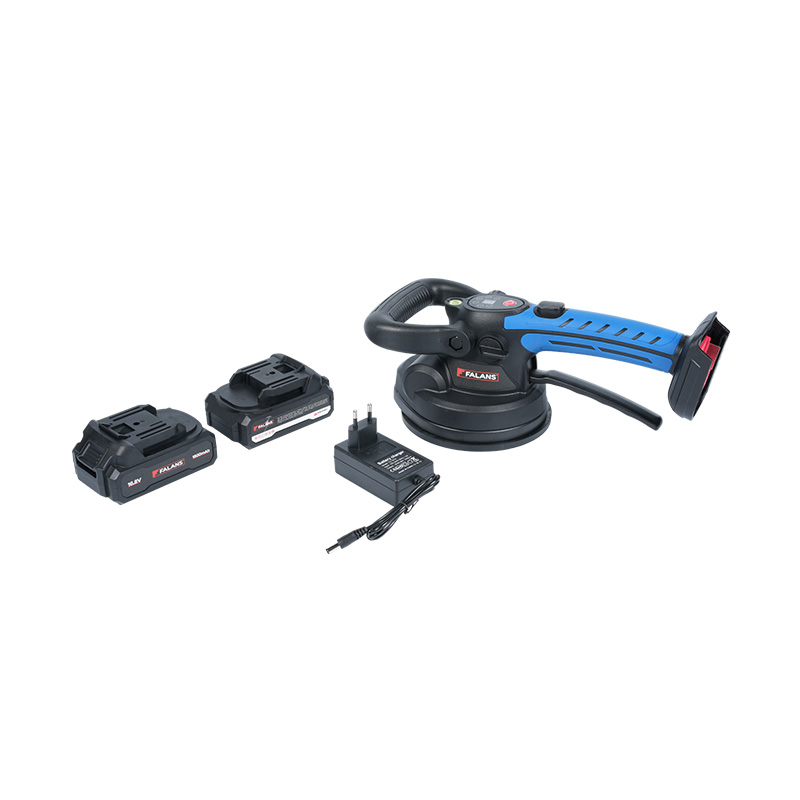
Powered tile polishing tools are more suitable for longer edges or repeated finishing work. Four-inch diamond pads are commonly paired with variable-speed polishers or compatible grinders. Some products specify operating speeds below typical angle-grinder speeds, making tool compatibility an important technical detail.
Dry polishing can be convenient for on-site edge touch-ups, particularly with pads specifically designed for dry use. Distar's 4-inch CoolPAD, for example, is designed for dry edge finishing of porcelain and ceramic tile.
Wet polishing remains useful for applications where cooling, dust control, and a smoother abrasive process are priorities. Product specifications should always determine whether a particular pad is intended for dry, wet, or both methods.
The visual result of a tile installation does not necessarily end with the cutting stage. A rough cut can remain visibly different from the factory surface, while progressive grinding and polishing can change the texture, sharpness, profile, and reflectivity of the exposed edge.
Tile polishing tools therefore have a role beyond simply making an edge smoother. Their abrasive sequence can determine whether a cut edge looks raw, refined, beveled, or highly polished. Matching the grit range, pad type, tool speed, and wet or dry method with the tile material gives installers greater control over the final appearance.
Copyright © Yongkang Shuofang Import and Export Co., Ltd. All Rights Reserved.

Falans Tile Laying Tools Factory